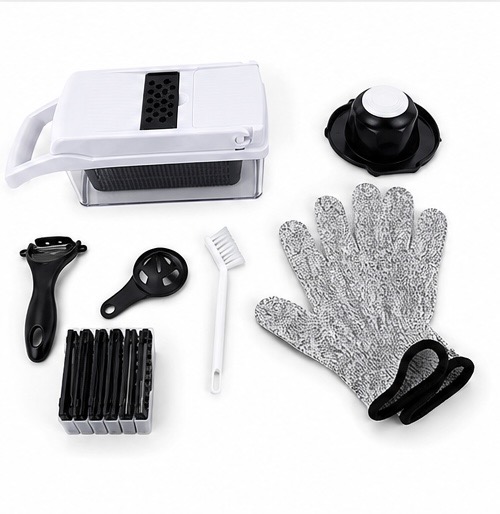
The complete set — cutter body, blade inserts, hand protector, cleaning brush, peeler and cut-resistant gloves
Designed for daily cooking

Ideal for salads, stir-fries, soups, meal prep and more.

Prepare · Slice · Enjoy

RS Vegetable Cutter

Cut prep time, not quality. The RS Vegetable Cutter helps you dice, slice, julienne and grate vegetables in seconds with neat, consistent results.

Time Saving
Sharp & Durable
Easy to Clean
BPA-Free*
Blade Guide

One tool. Multiple cuts.

Choose the appropriate insert for the cut you need — the set covers slicing, grating, julienne, wavy cuts and dicing.

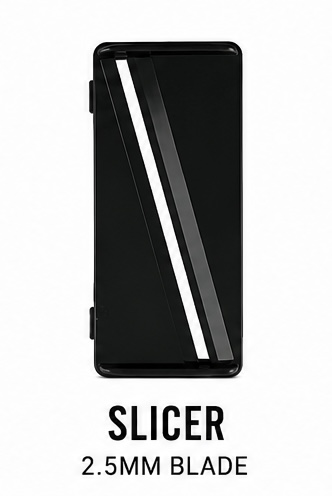
2.5 mm slicer insert

2.5 mm Slicer

For thin, even slices of firm vegetables and fruit.
Wavy slicer insert

Wavy Slicer

For decorative wavy slices.

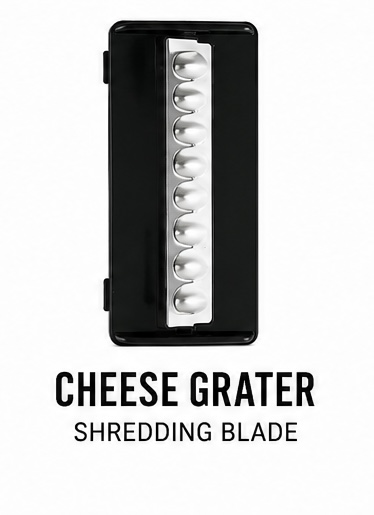
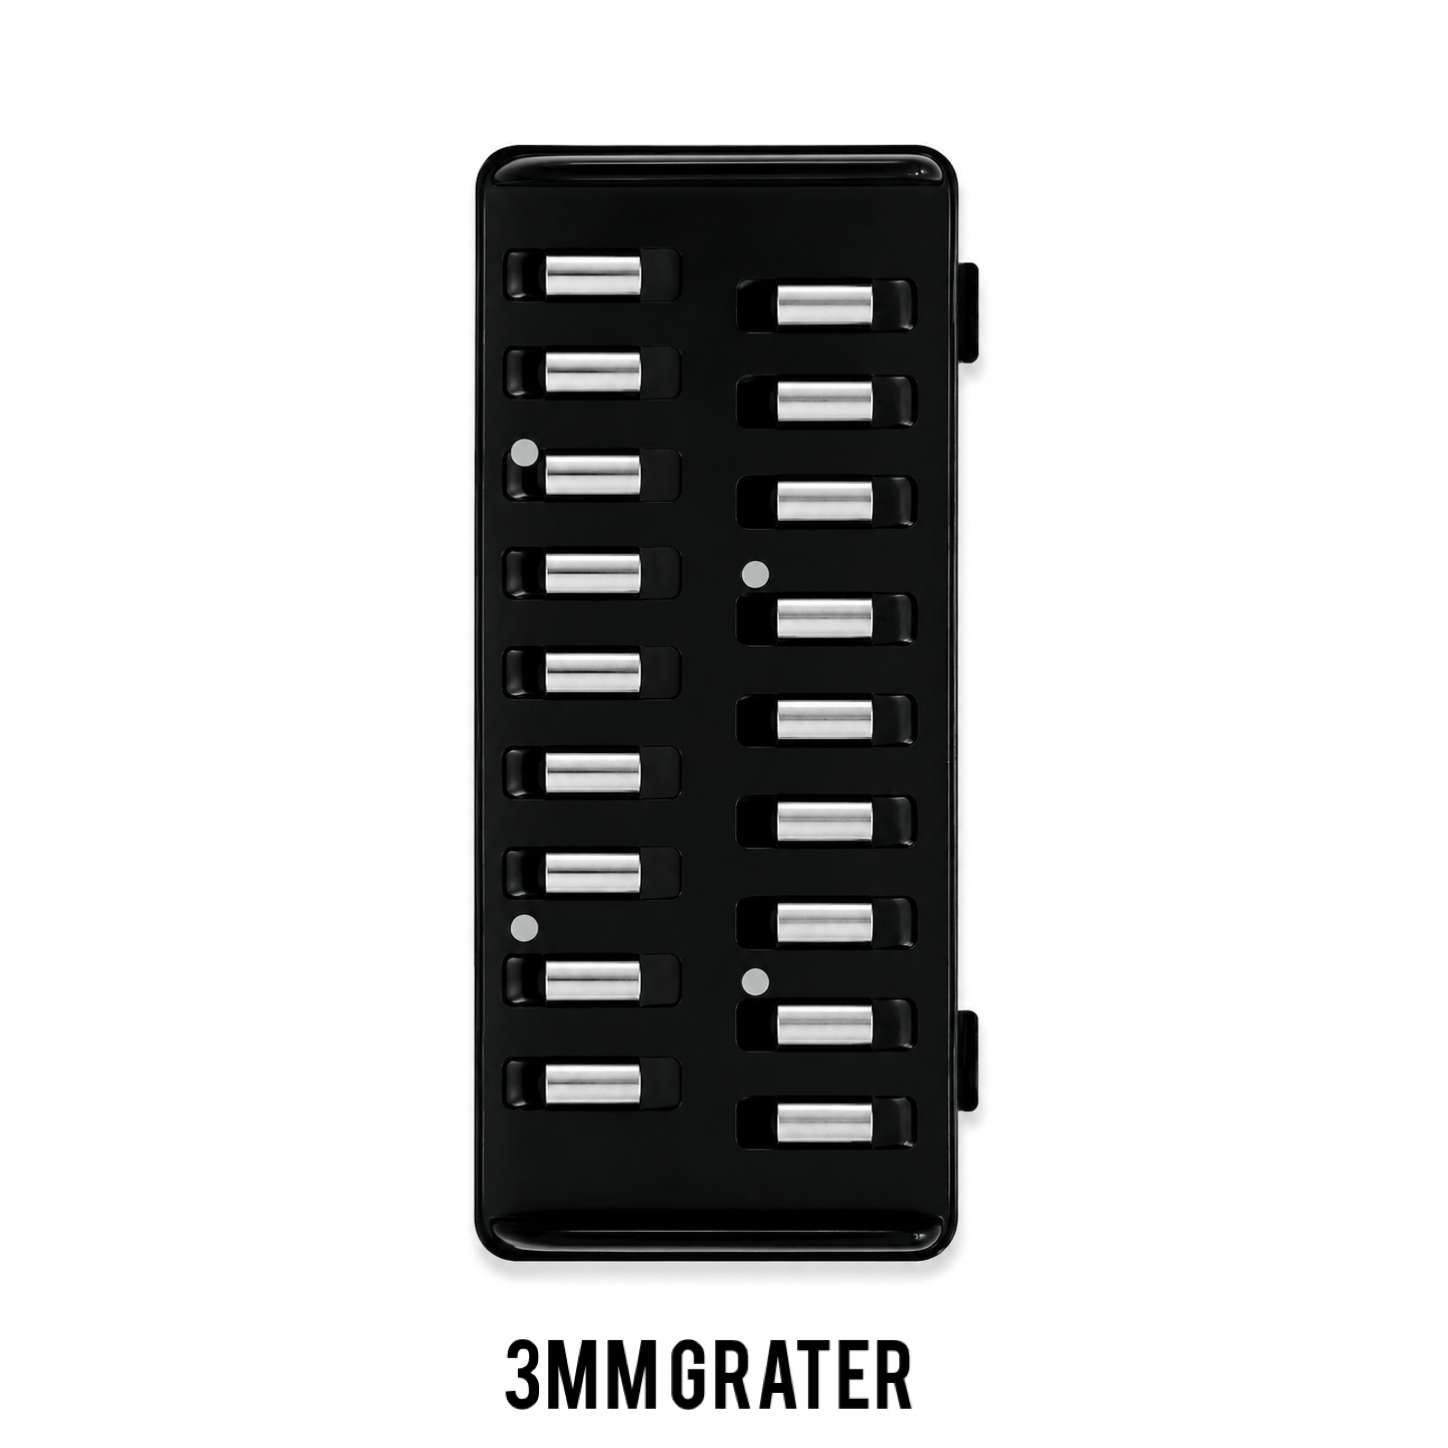
3 mm grater insert

3 mm Grater

Fine shredding for salads, garnishes and cheese.
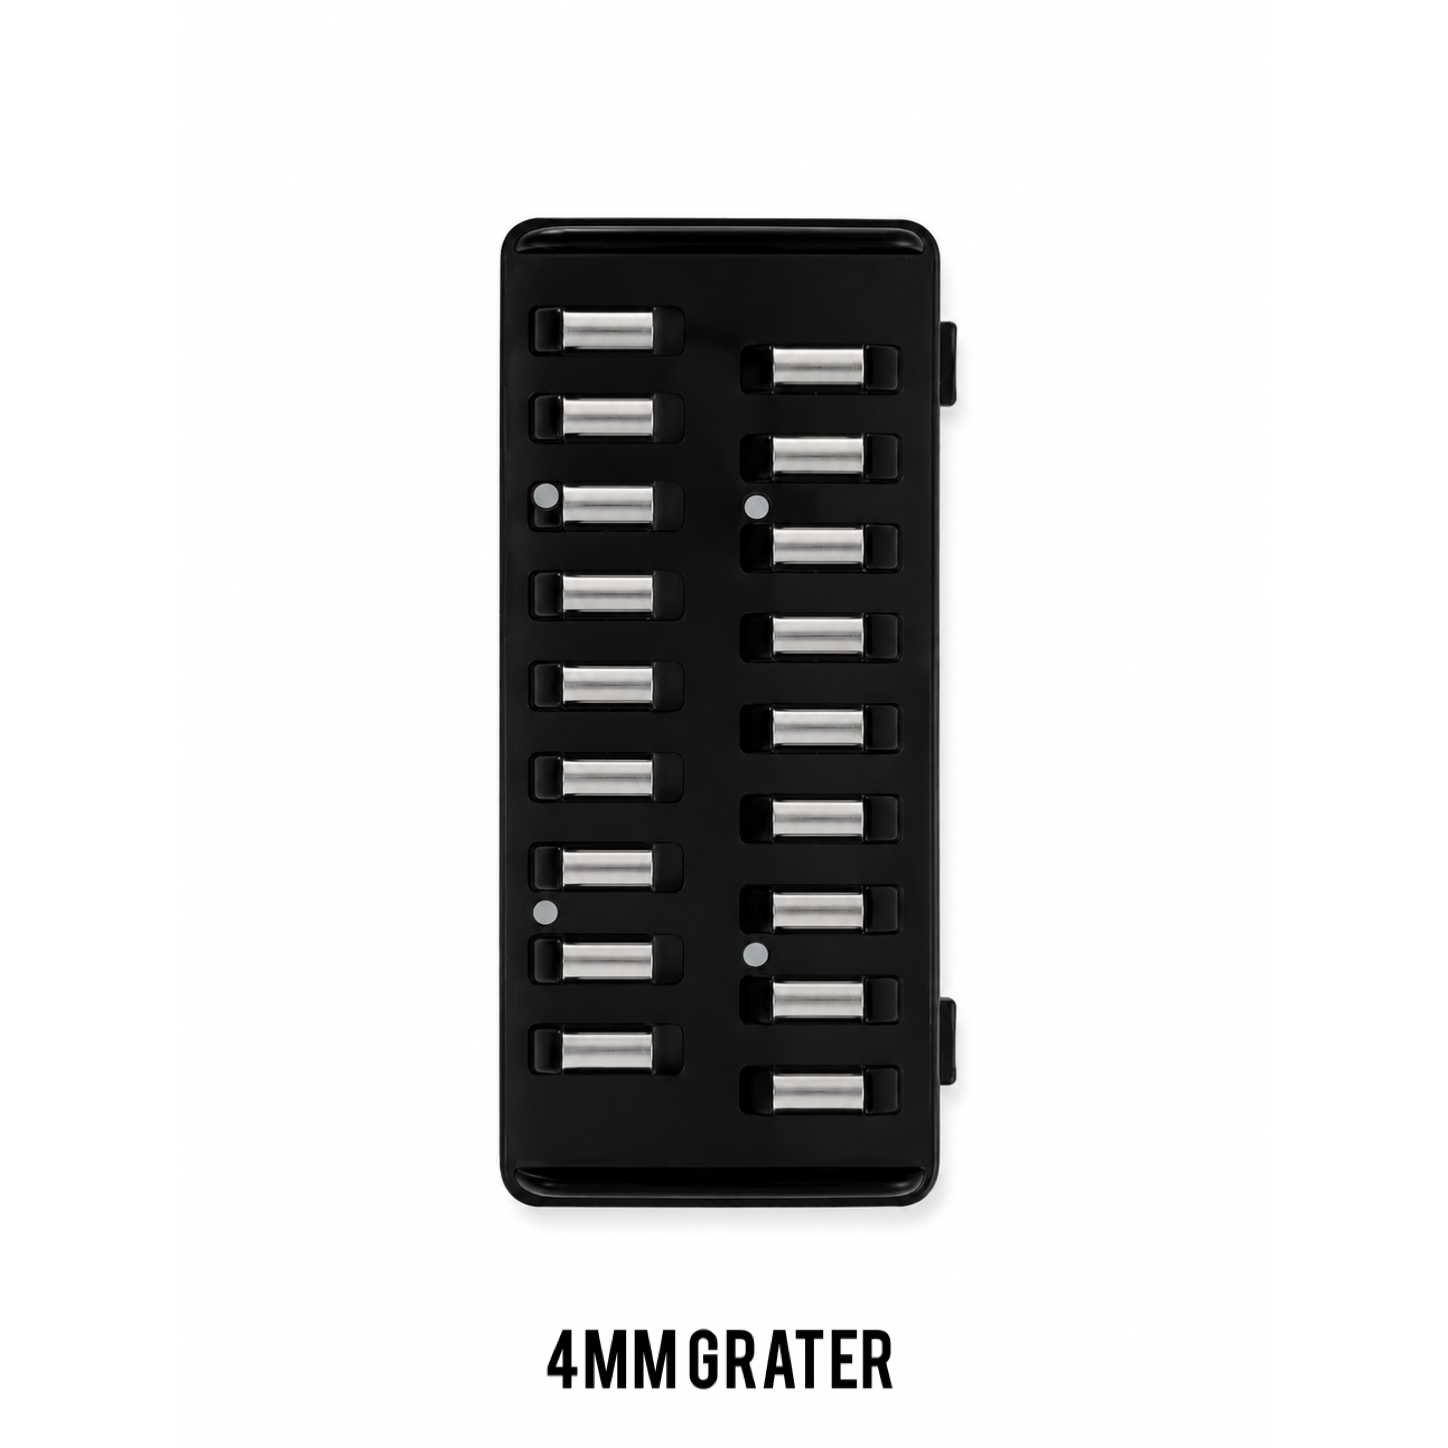
4 mm grater insert

4 mm Grater

Coarser shredding for heartier textures.
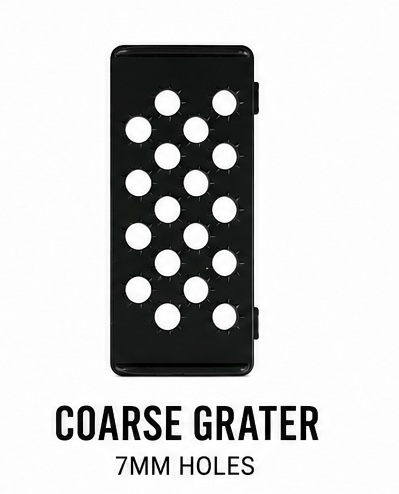
Coarse grater insert with 7 mm holes

Coarse Grater

7 mm holes for coarse shreds of firm produce.
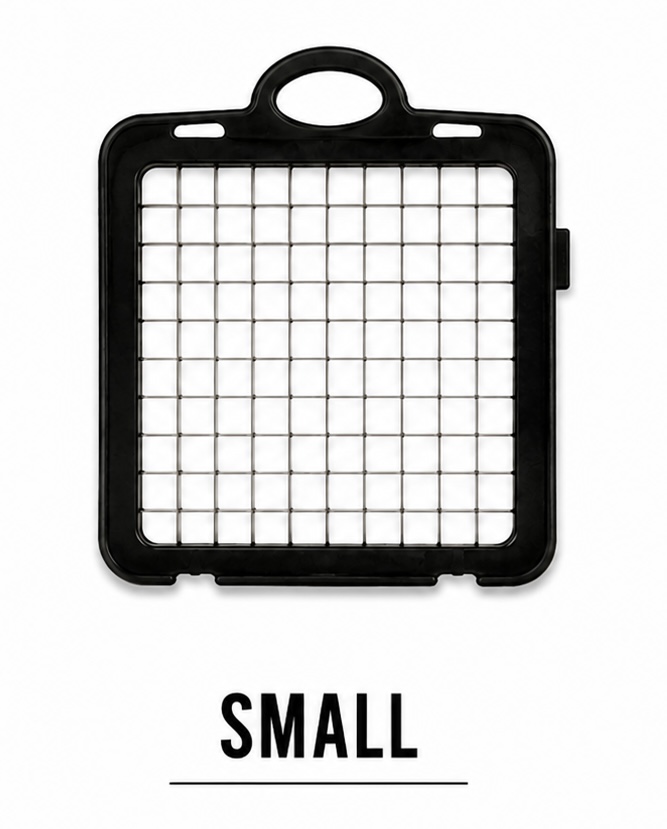
Small dicing blade insert for 11 × 11 mm cubes

Small Dicing Blade

11 × 11 mm cubes for salads, salsa and garnishes.
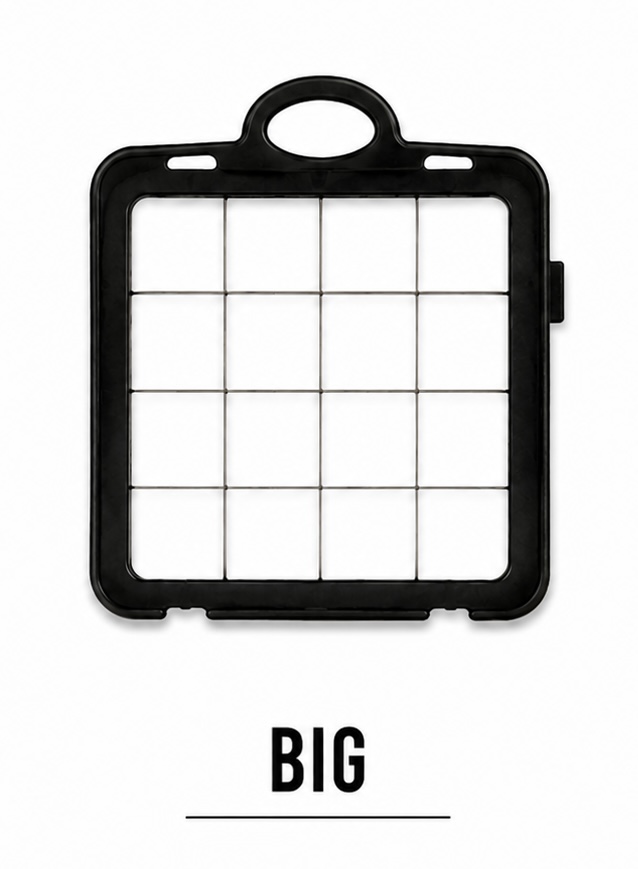
Large dicing blade insert for 21 × 21 mm cubes

Large Dicing Blade

21 × 21 mm cubes for hearty dishes and stews.

Benefits

Why you'll love it.

1

Save Time & Effort

Prepare common vegetables faster than cutting each piece by hand.

2

Consistent Results

Interchangeable blades help create even, presentable pieces.

3

Safer Handling

The hand guard helps keep fingers away from sharp cutting surfaces.

4

Easy Collection

Prepared ingredients fall directly into the collection container.

5

Simple Cleaning

Use the included cleaning brush to remove trapped food particles.
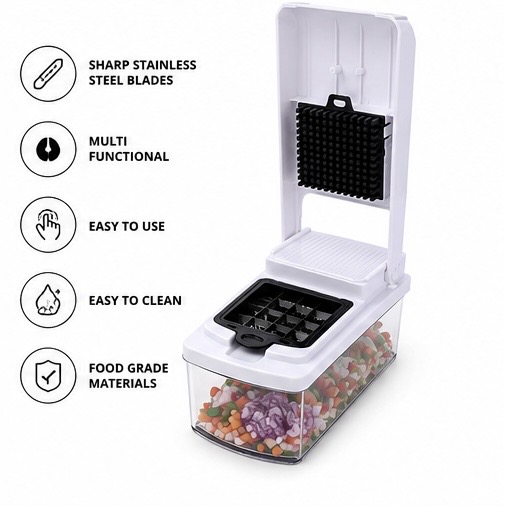
Key features of the RS Vegetable Cutter — sharp stainless steel blades, multifunctional, easy to use, easy to clean and food-grade materials

Great For

  • Fresh salads
  • Vegetable stir-fries
  • Soups and stews
  • Meal preparation
  • Fruit preparation
Step by Step

How to use.

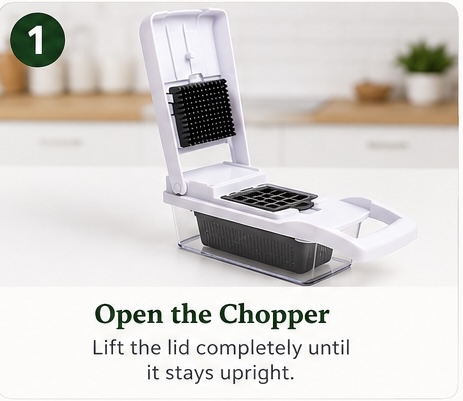
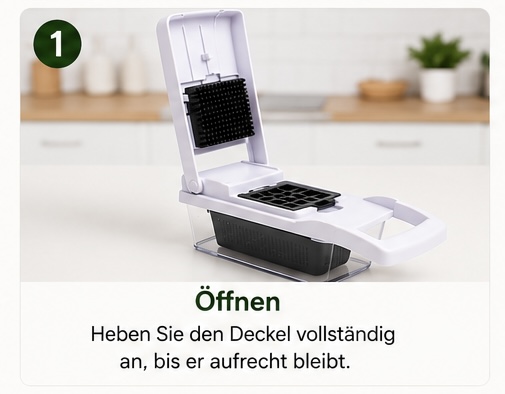
Step 1 — Open the Chopper: lift the lid completely until it stays upright. Schritt 1 — Öffnen: Heben Sie den Deckel vollständig an, bis er aufrecht bleibt.
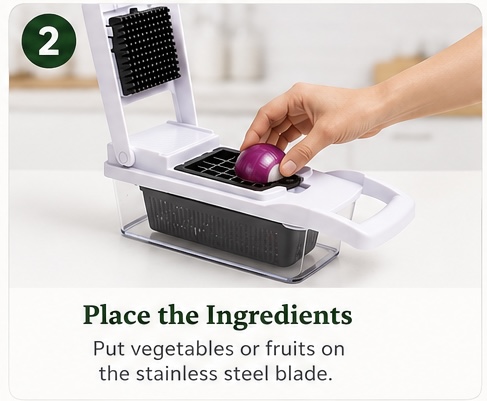
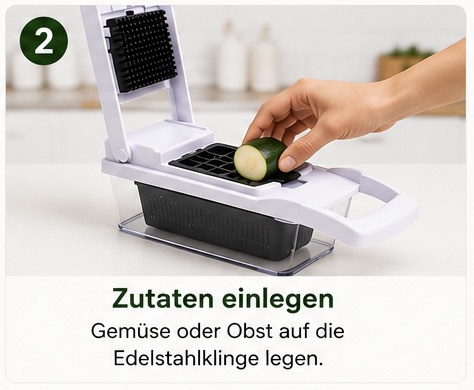
Step 2 — Place the Ingredients: put vegetables or fruits on the stainless steel blade. Schritt 2 — Zutaten einlegen: Gemüse oder Obst auf die Edelstahlklinge legen.
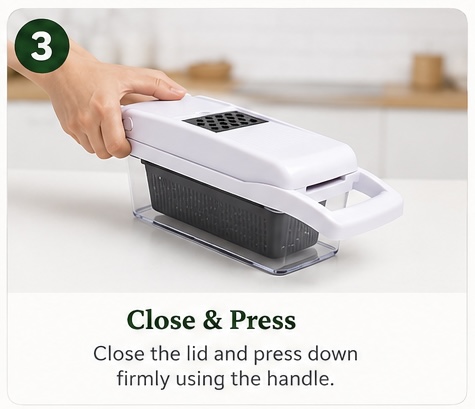
Step 3 — Close & Press: close the lid and press down firmly using the handle. Schritt 3 — Schließen & Drücken: Den Deckel schließen und mit dem Griff fest nach unten drücken.
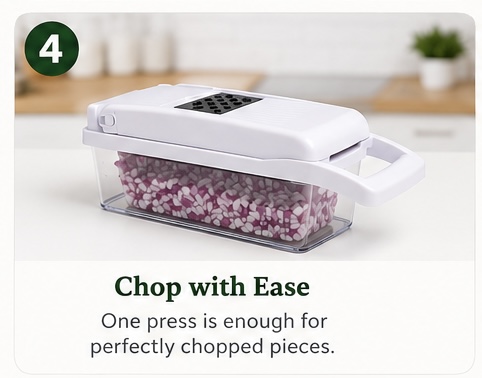
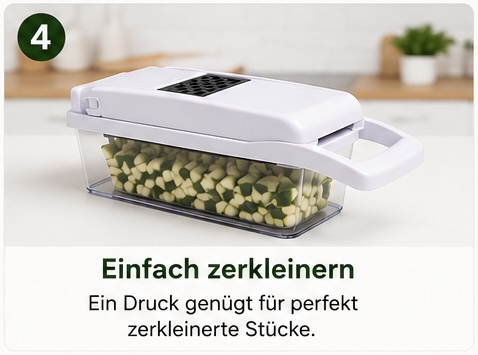
Step 4 — Chop with Ease: one press is enough for perfectly chopped pieces. Schritt 4 — Einfach zerkleinern: Ein Druck genügt für perfekt zerkleinerte Stücke.
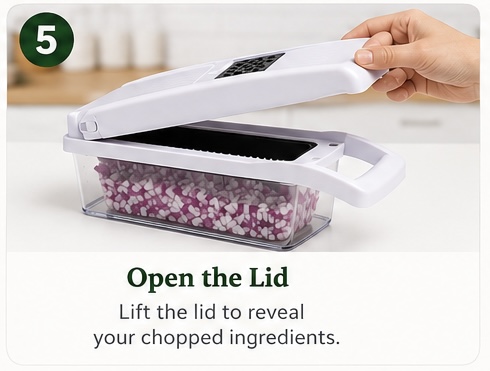
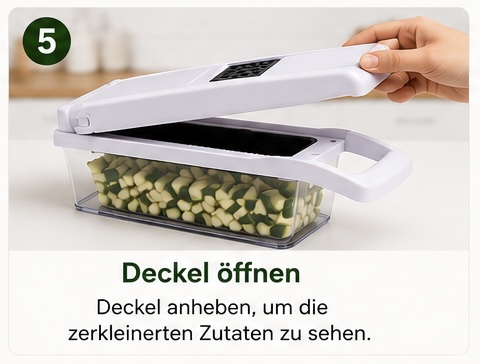
Step 5 — Open the Lid: lift the lid to reveal your chopped ingredients. Schritt 5 — Deckel öffnen: Deckel anheben, um die zerkleinerten Zutaten zu sehen.
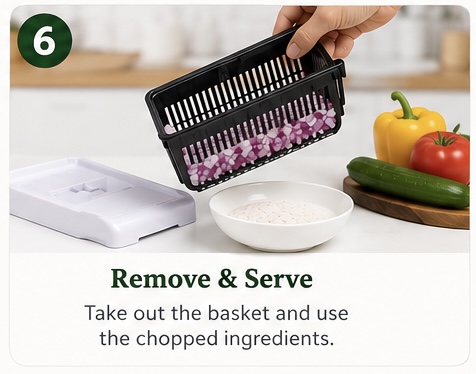
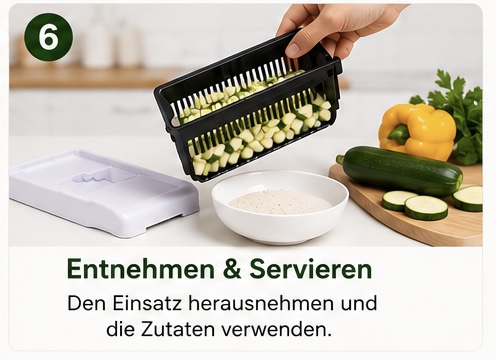
Step 6 — Remove & Serve: take out the basket and use the chopped ingredients. Schritt 6 — Entnehmen & Servieren: Den Einsatz herausnehmen und die Zutaten verwenden.
In the Box

What's Included

Everything you need to start prepping — laid out and labelled, straight from the box.
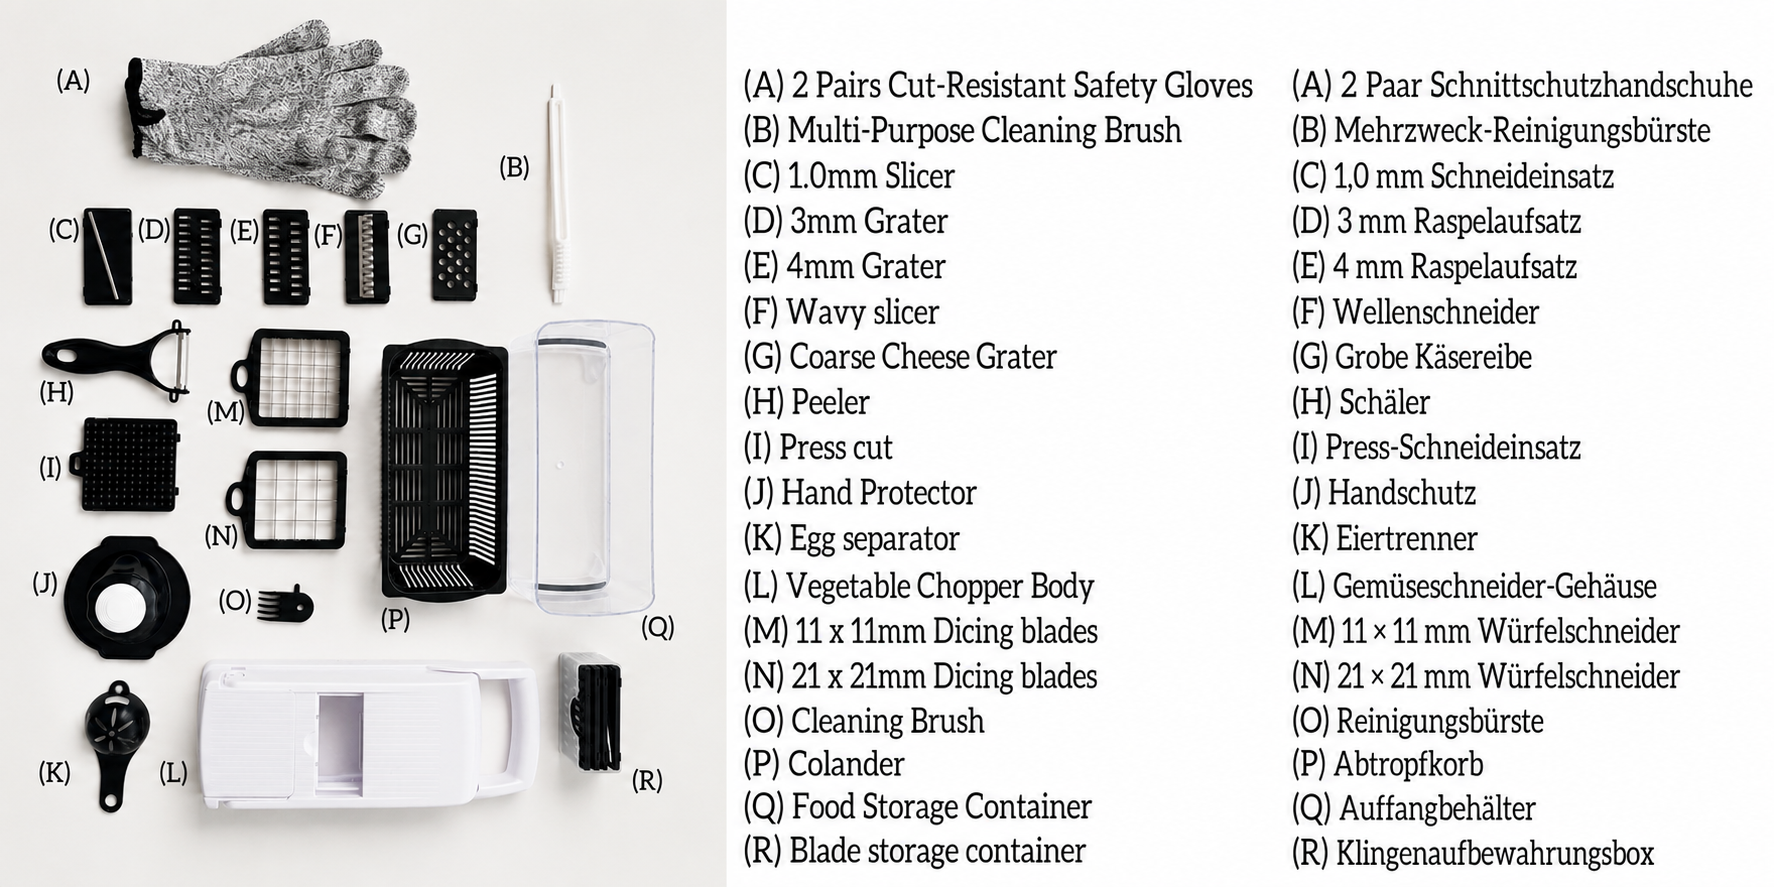
Everything in the box, labelled A to R with English and German part names
Manual

Detailed manual.

Read all instructions before first use and keep this information for future reference.

  1. Carefully remove all packaging materials.
  2. Check that the product and blades are undamaged.
  3. Wash removable food-contact parts in warm soapy water.
  4. Rinse thoroughly and allow all components to dry.
  5. Do not touch blade edges during washing or assembly.
  1. Place the cutter on a stable, dry surface.
  2. Hold the blade insert only by its plastic frame.
  3. Align the insert with the designated slot.
  4. Press gently until it is securely positioned.
  5. To remove it, use the release point or handle provided.
  • Wash vegetables before cutting.
  • Remove hard stems, stones, seeds or inedible parts.
  • Cut oversized vegetables into smaller sections.
  • Place food centrally over the blade.
  • Apply steady and even pressure. Do not strike or force the lid.
  • Use softer produce for slicing and harder produce only when suitable for the selected blade.
  1. Clean the product soon after use to prevent food from drying.
  2. Remove the blade carefully by holding the plastic frame.
  3. Use the cleaning brush to dislodge trapped particles.
  4. Wash with mild detergent and warm water.
  5. Allow all components to dry fully before storage.
  6. Do not use abrasive cleaners or metal scouring pads.
  • Store blades only in their designated holder or protected compartment.
  • Keep the product dry and away from direct heat.
  • Do not place heavy objects on top of the cutter.
  • Store out of reach of children.

Food does not cut easily: Reduce the food size, reposition it, or use a more suitable blade.

Food becomes trapped: Stop using the cutter, remove the blade carefully, and clean it with the brush.

Blade feels loose: Stop using the product and reinstall the insert correctly.

Container moves: Place it on a flat, dry surface and check that all parts are correctly assembled.

FAQ

Frequently asked questions.

Useful answers for customers before and after purchase.

It is suitable for many common vegetables and fruits, but performance depends on food size, firmness and the selected blade. Avoid frozen foods, bones and extremely hard ingredients.
Currently no, but can be used with low temperature (40 degrees) dishwasher cycles. Hand washing is recommended for longevity.
Hold each blade by its plastic frame, rinse carefully and use the supplied cleaning brush. Never clean sharp edges with bare fingers.
Stop using the product and contact customer support with the order number and clear photographs of the affected part.
Lifestyle

More than preparation — discover what you can make

From fresh salads to crispy oven fries, explore simple recipes created for your RS Vegetable Cutter.

Explore Recipes →